
ClevrBot WordPress Plugin Setup Guide
This is our documentation page. Here, we’ll show you how to get ClevrBot running on your WordPress site.
ClevrBot requires WordPress 6.1 or newer and PHP 8.2 or newer.
WordPress Plugin Installation
Locate your copy of the ClevrBot zipfile. It will look something like clevr-bot.zip, and will probably be in your Downloads folder on your computer.
Go to your site’s WordPress dashboard at /wp-admin.
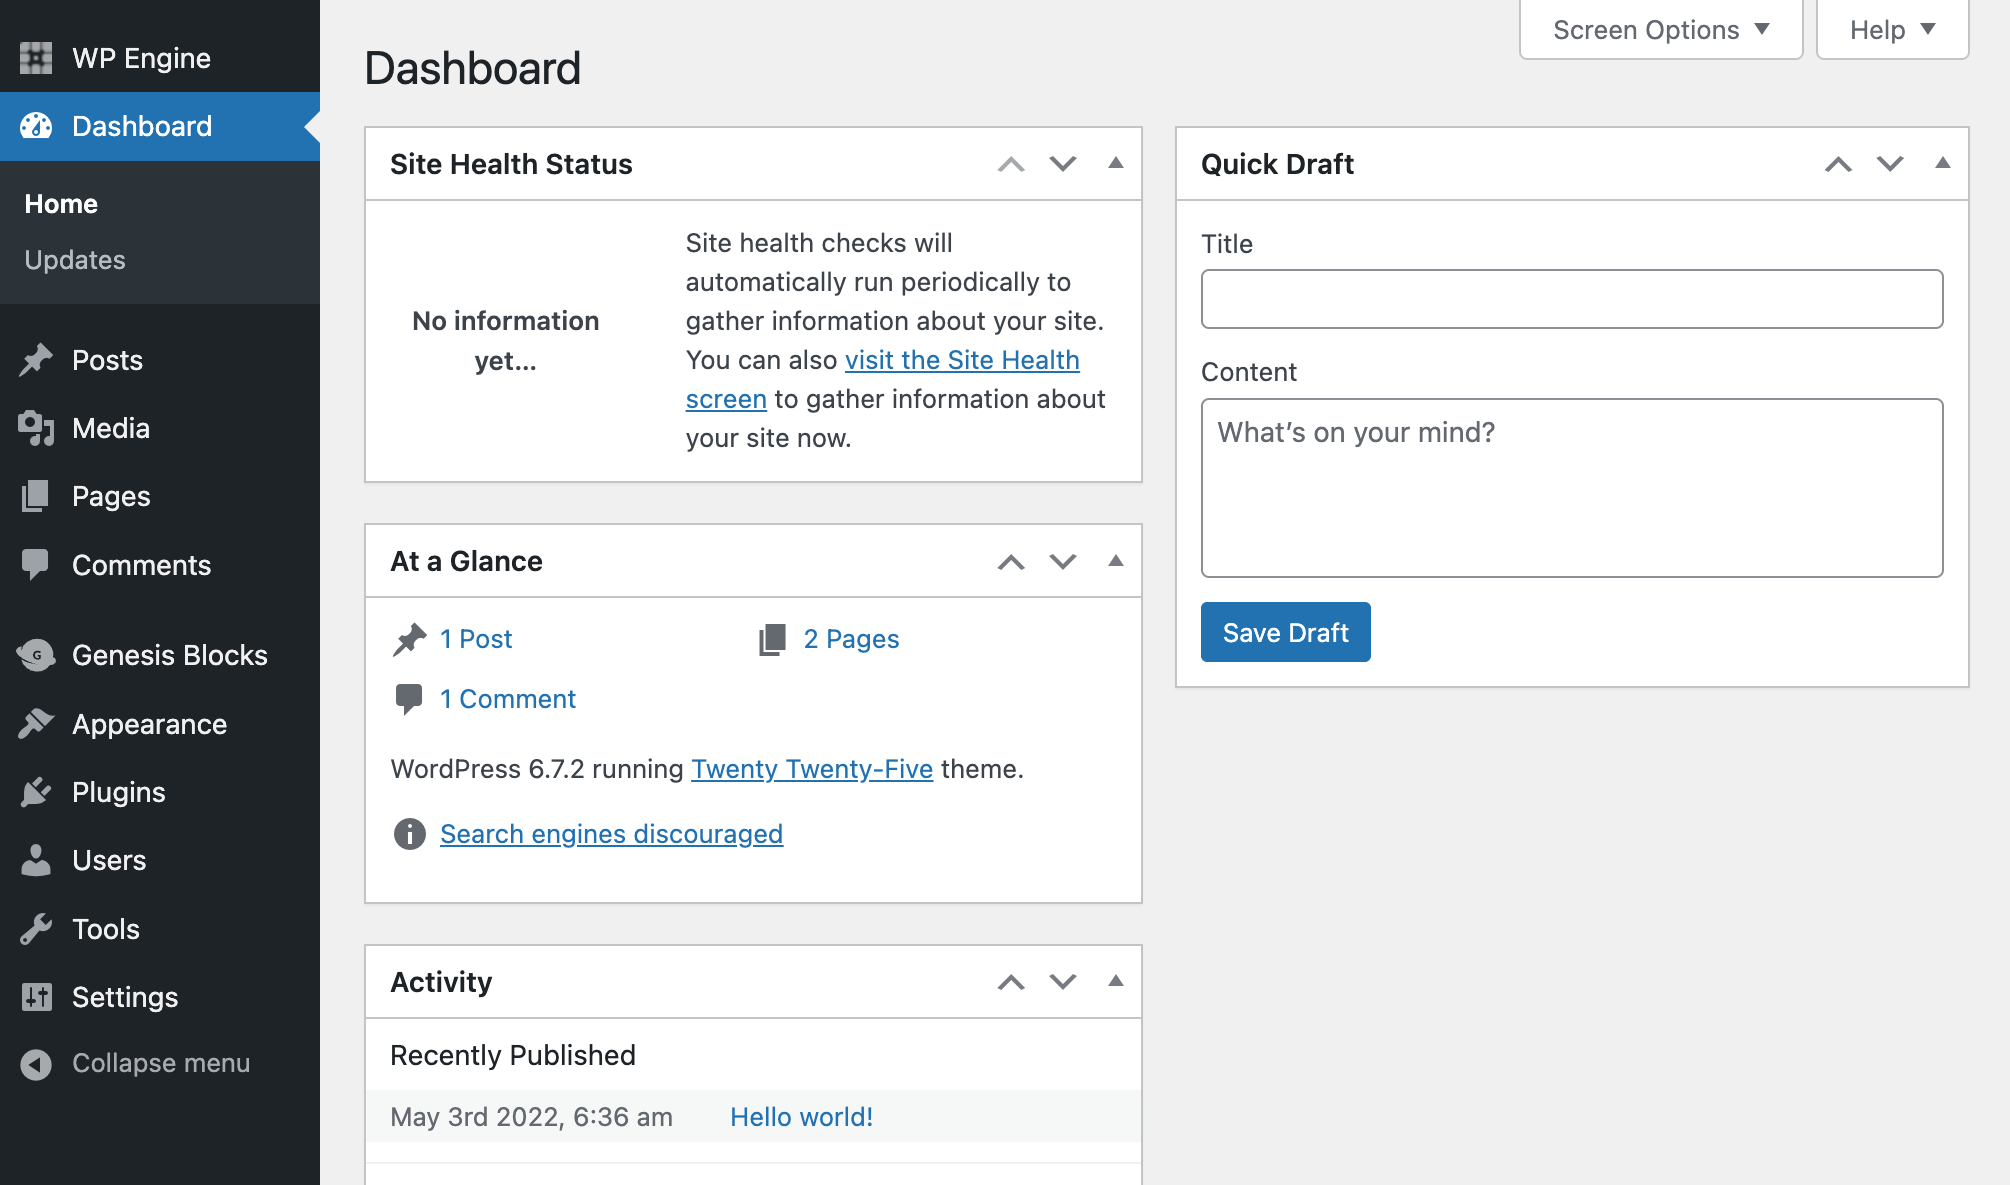
Over on the left of the WordPress dashboard, click the Plugins menu item.
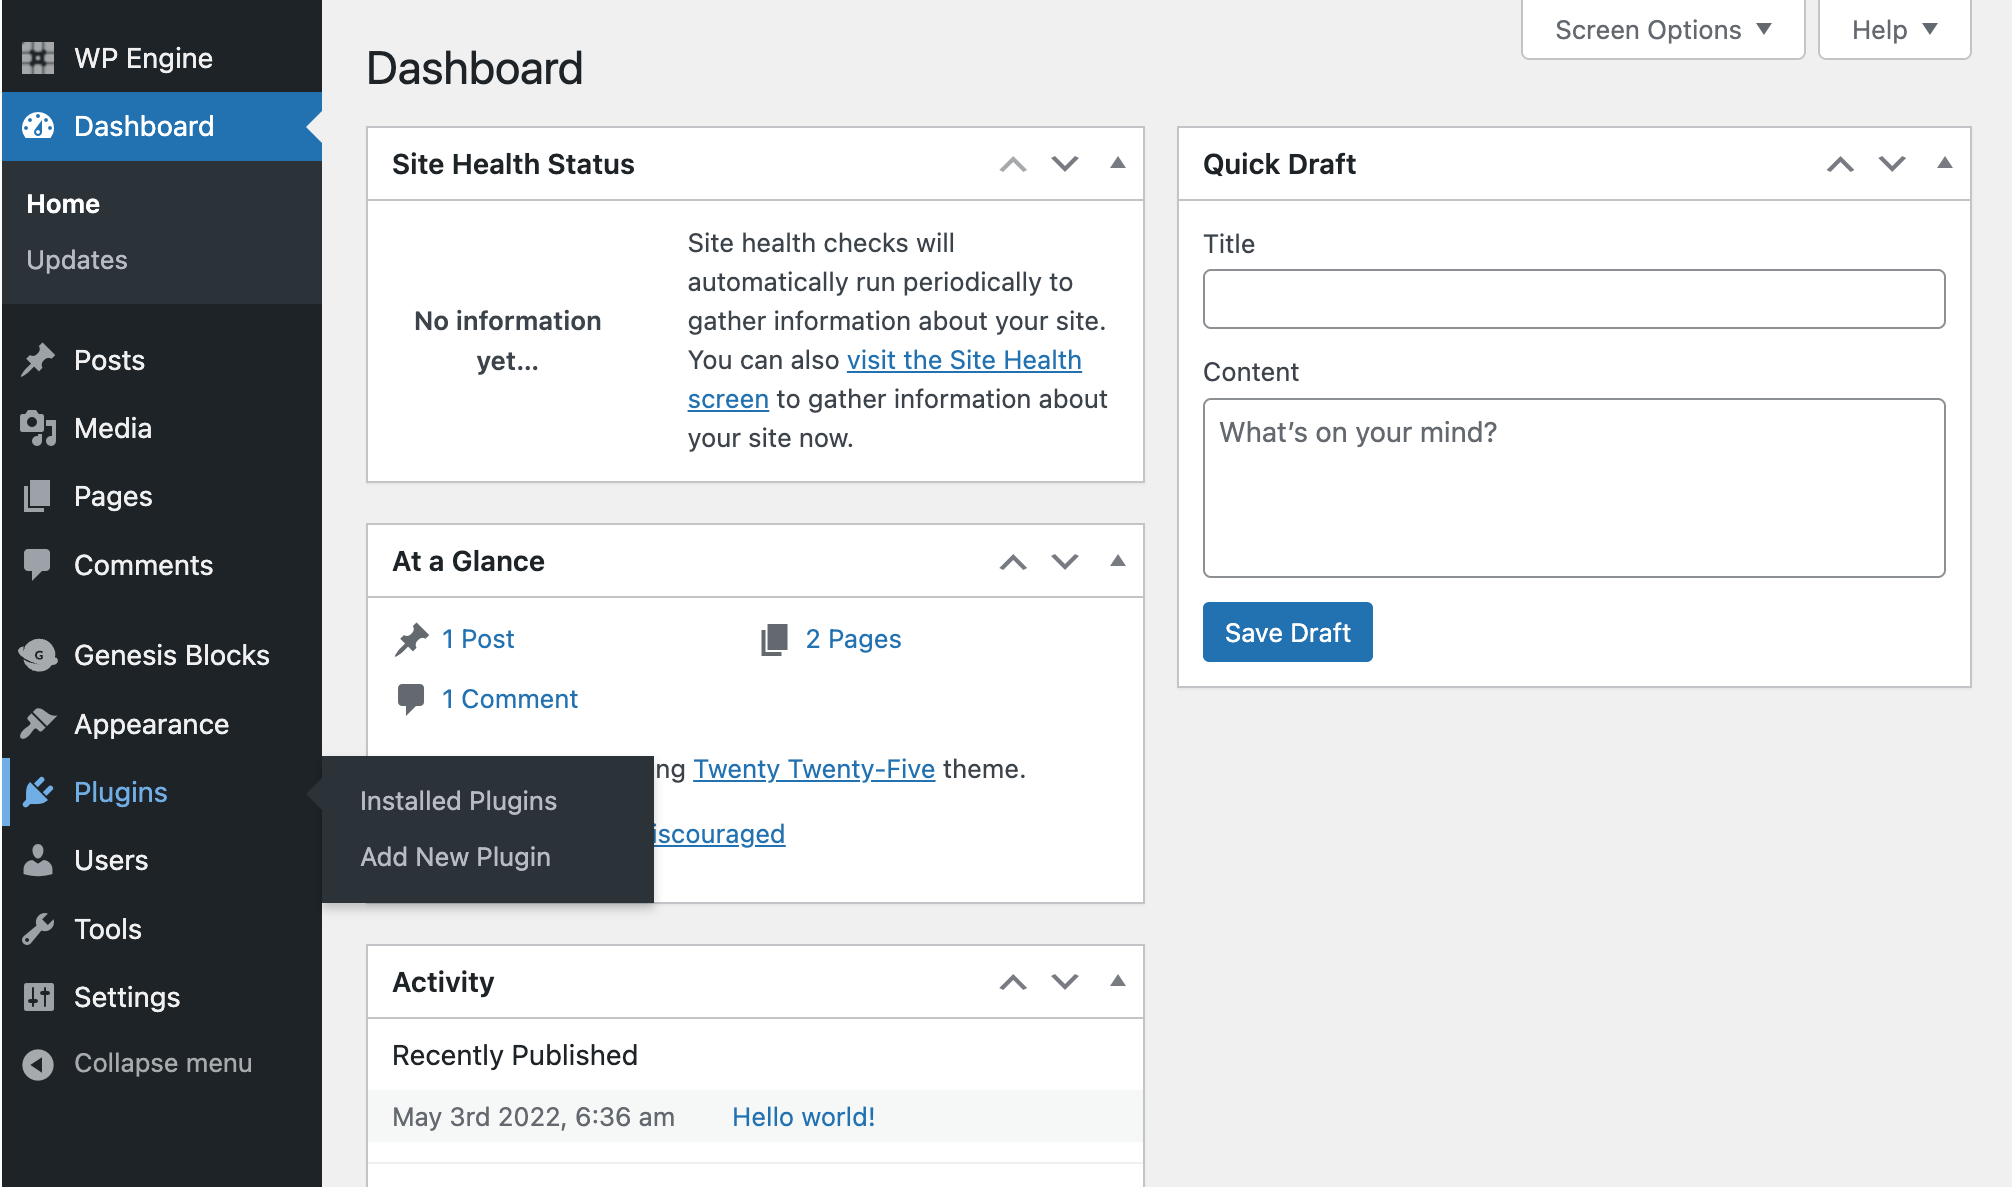
At the top of the Plugins page, click the Add New Plugin button.
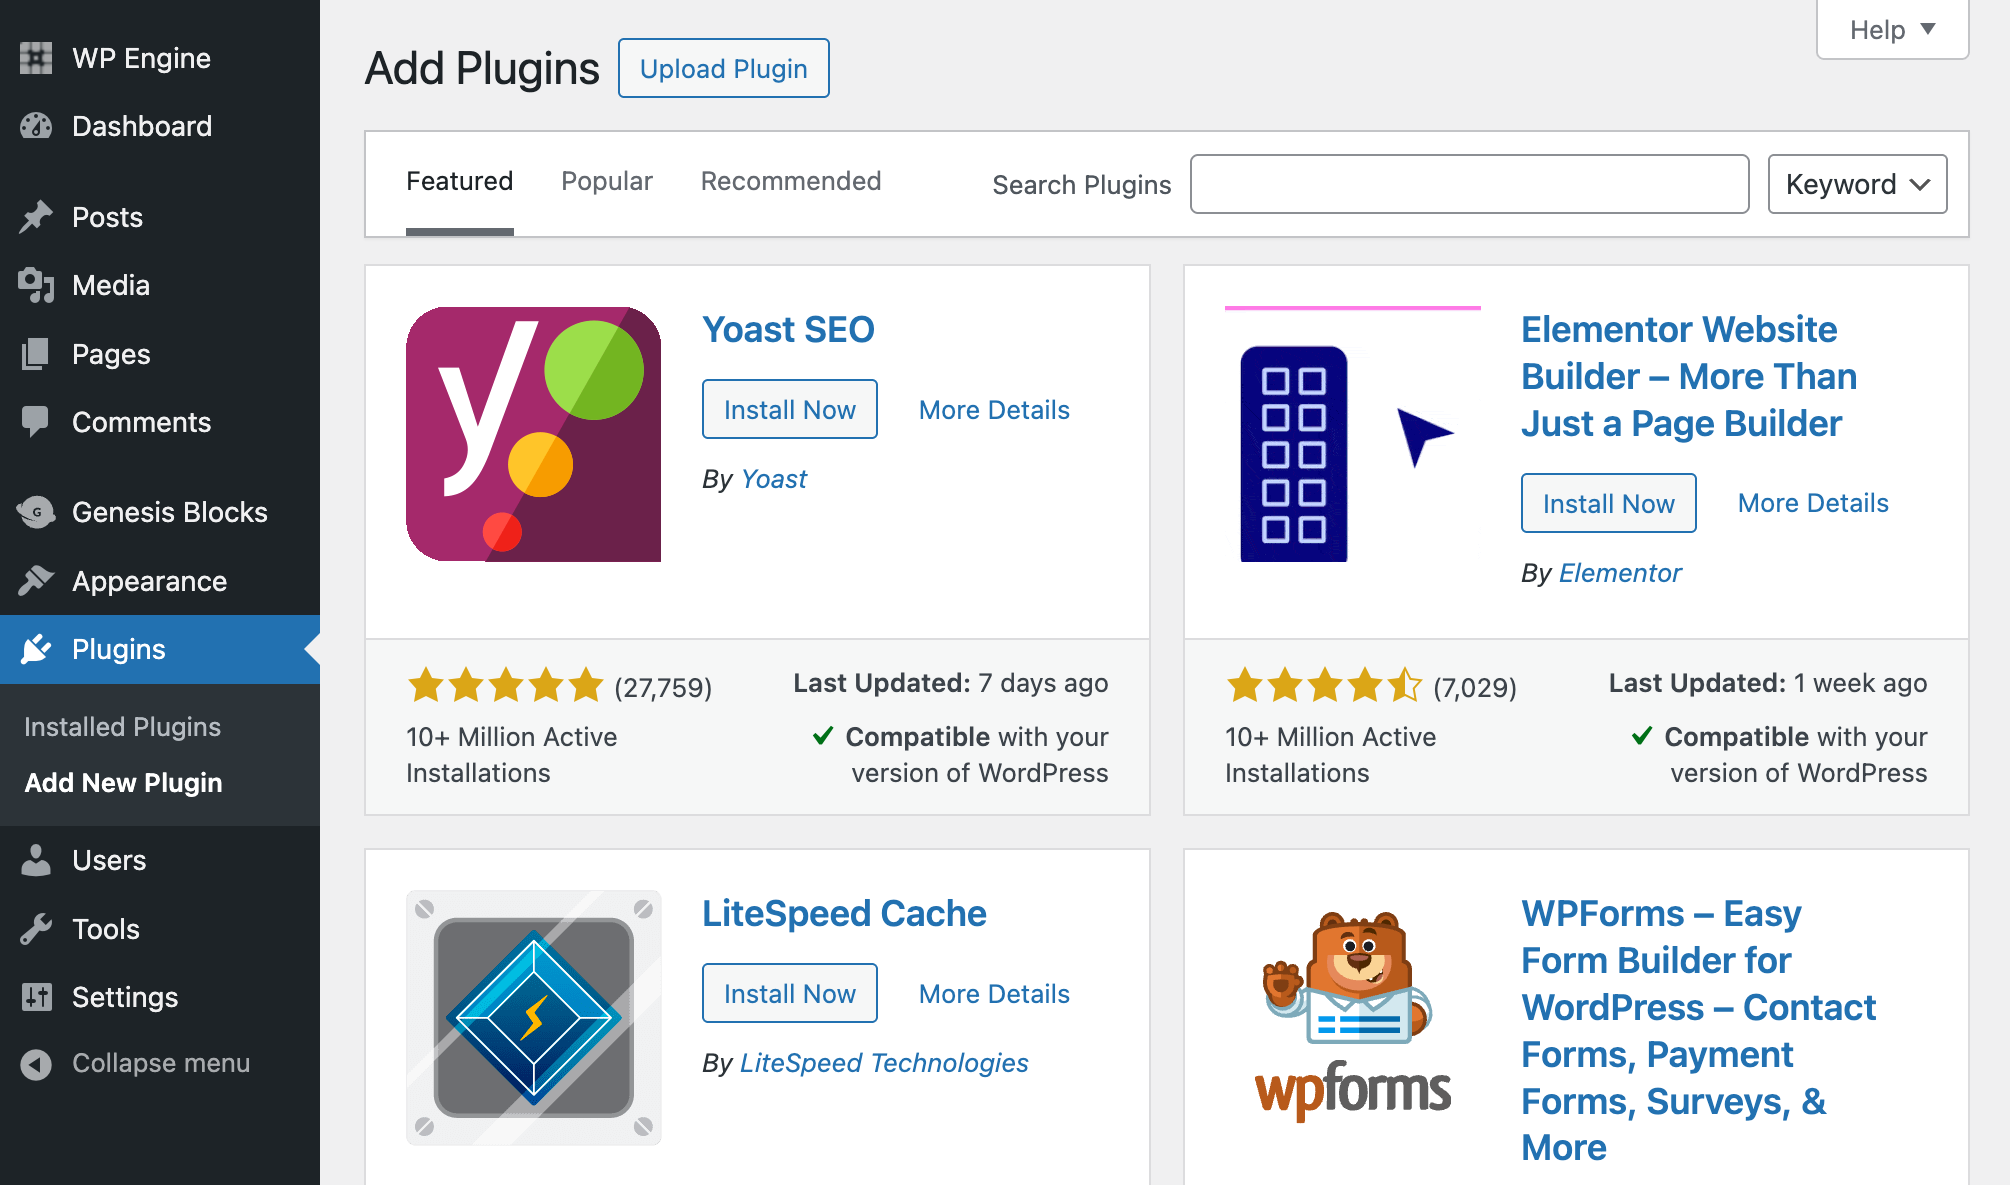
At the top of the Add Plugins page, click the Upload Plugin button.
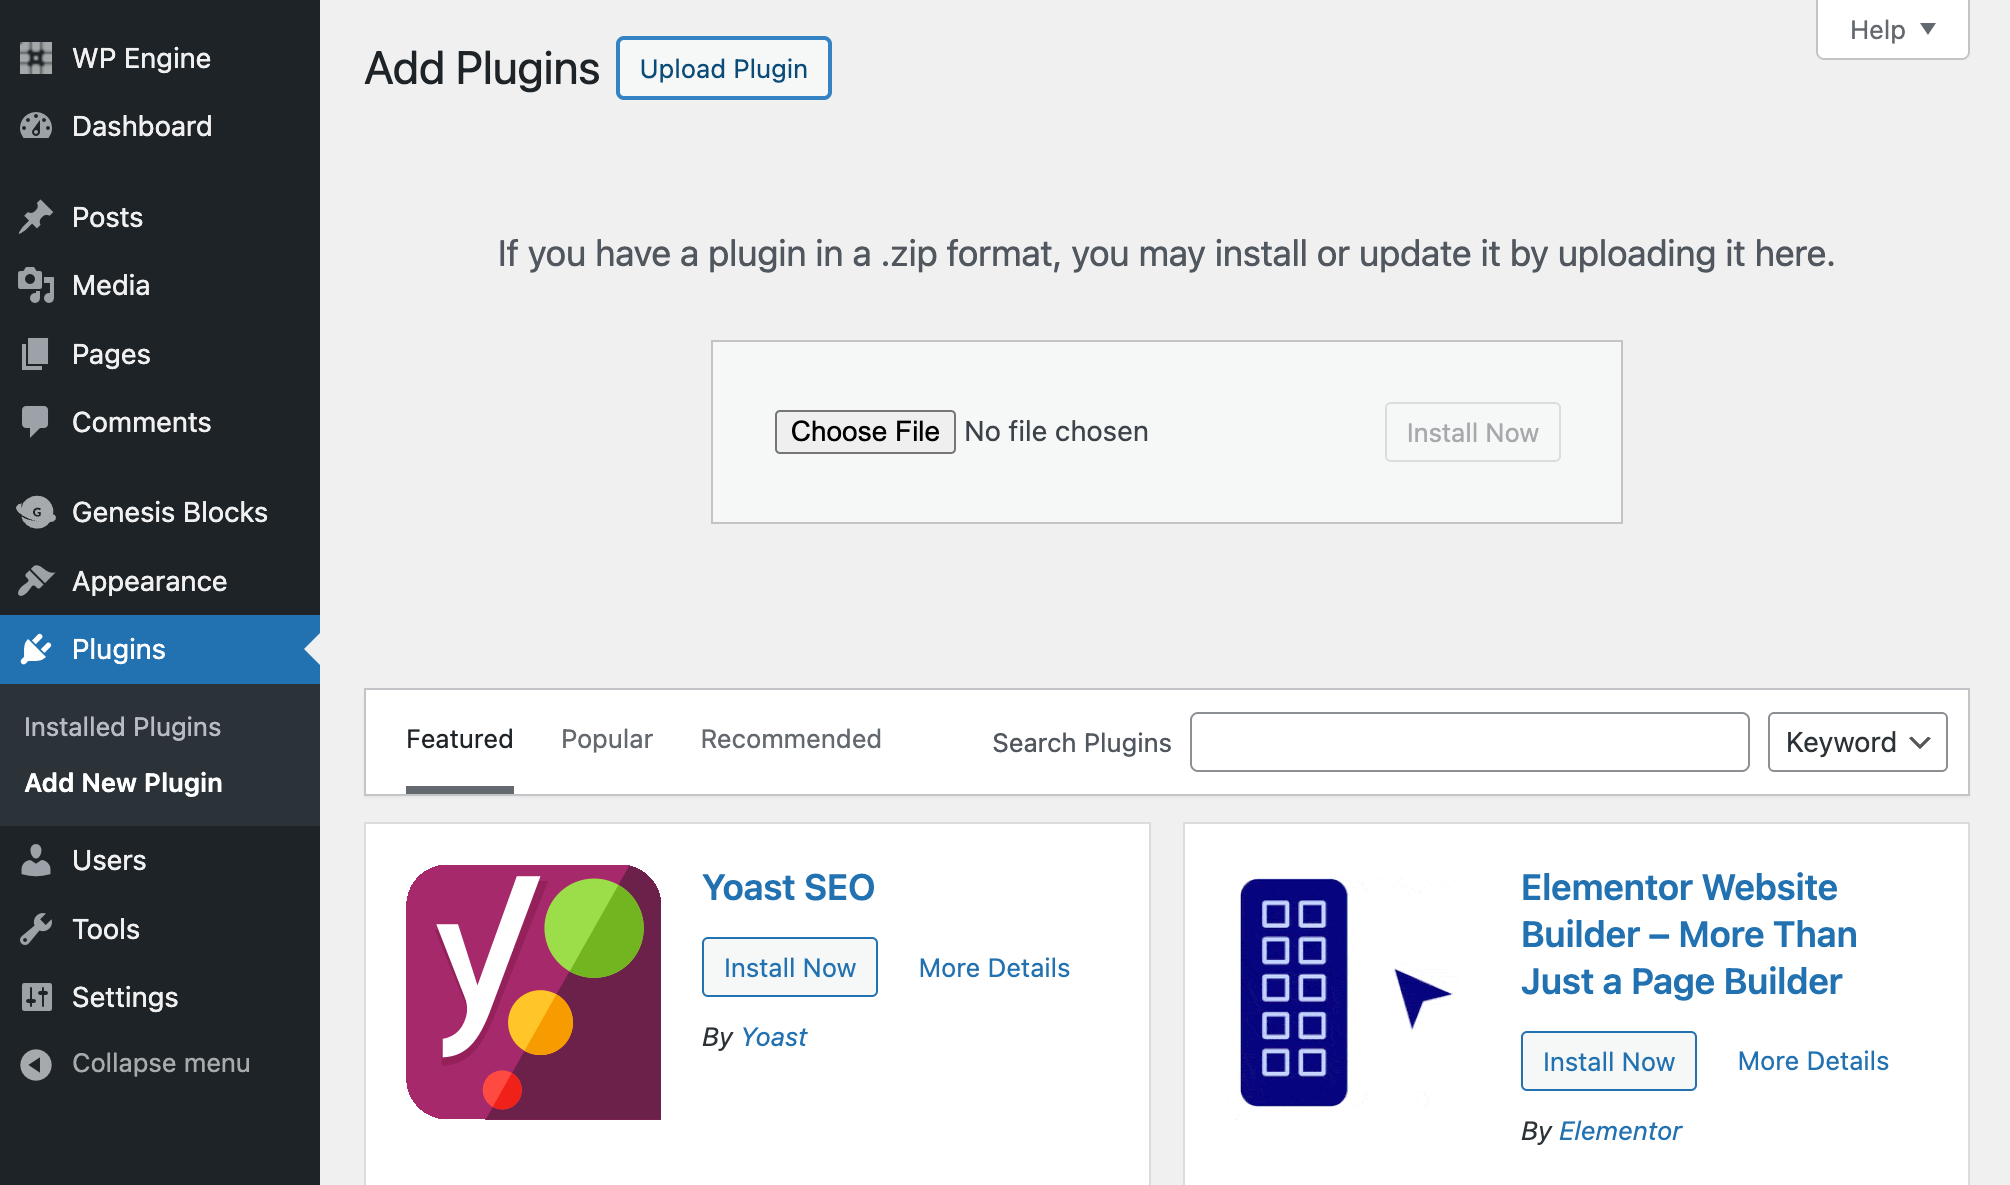
Either:
- Click on the
Choose Filebutton and choose the ClevrBot plugin .zip file you’ve downloaded (likelyclevr-bot.zipin yourDownloadsfolder) - Drag the ClevrBot plugin .zip file onto the
Choose Filebutton
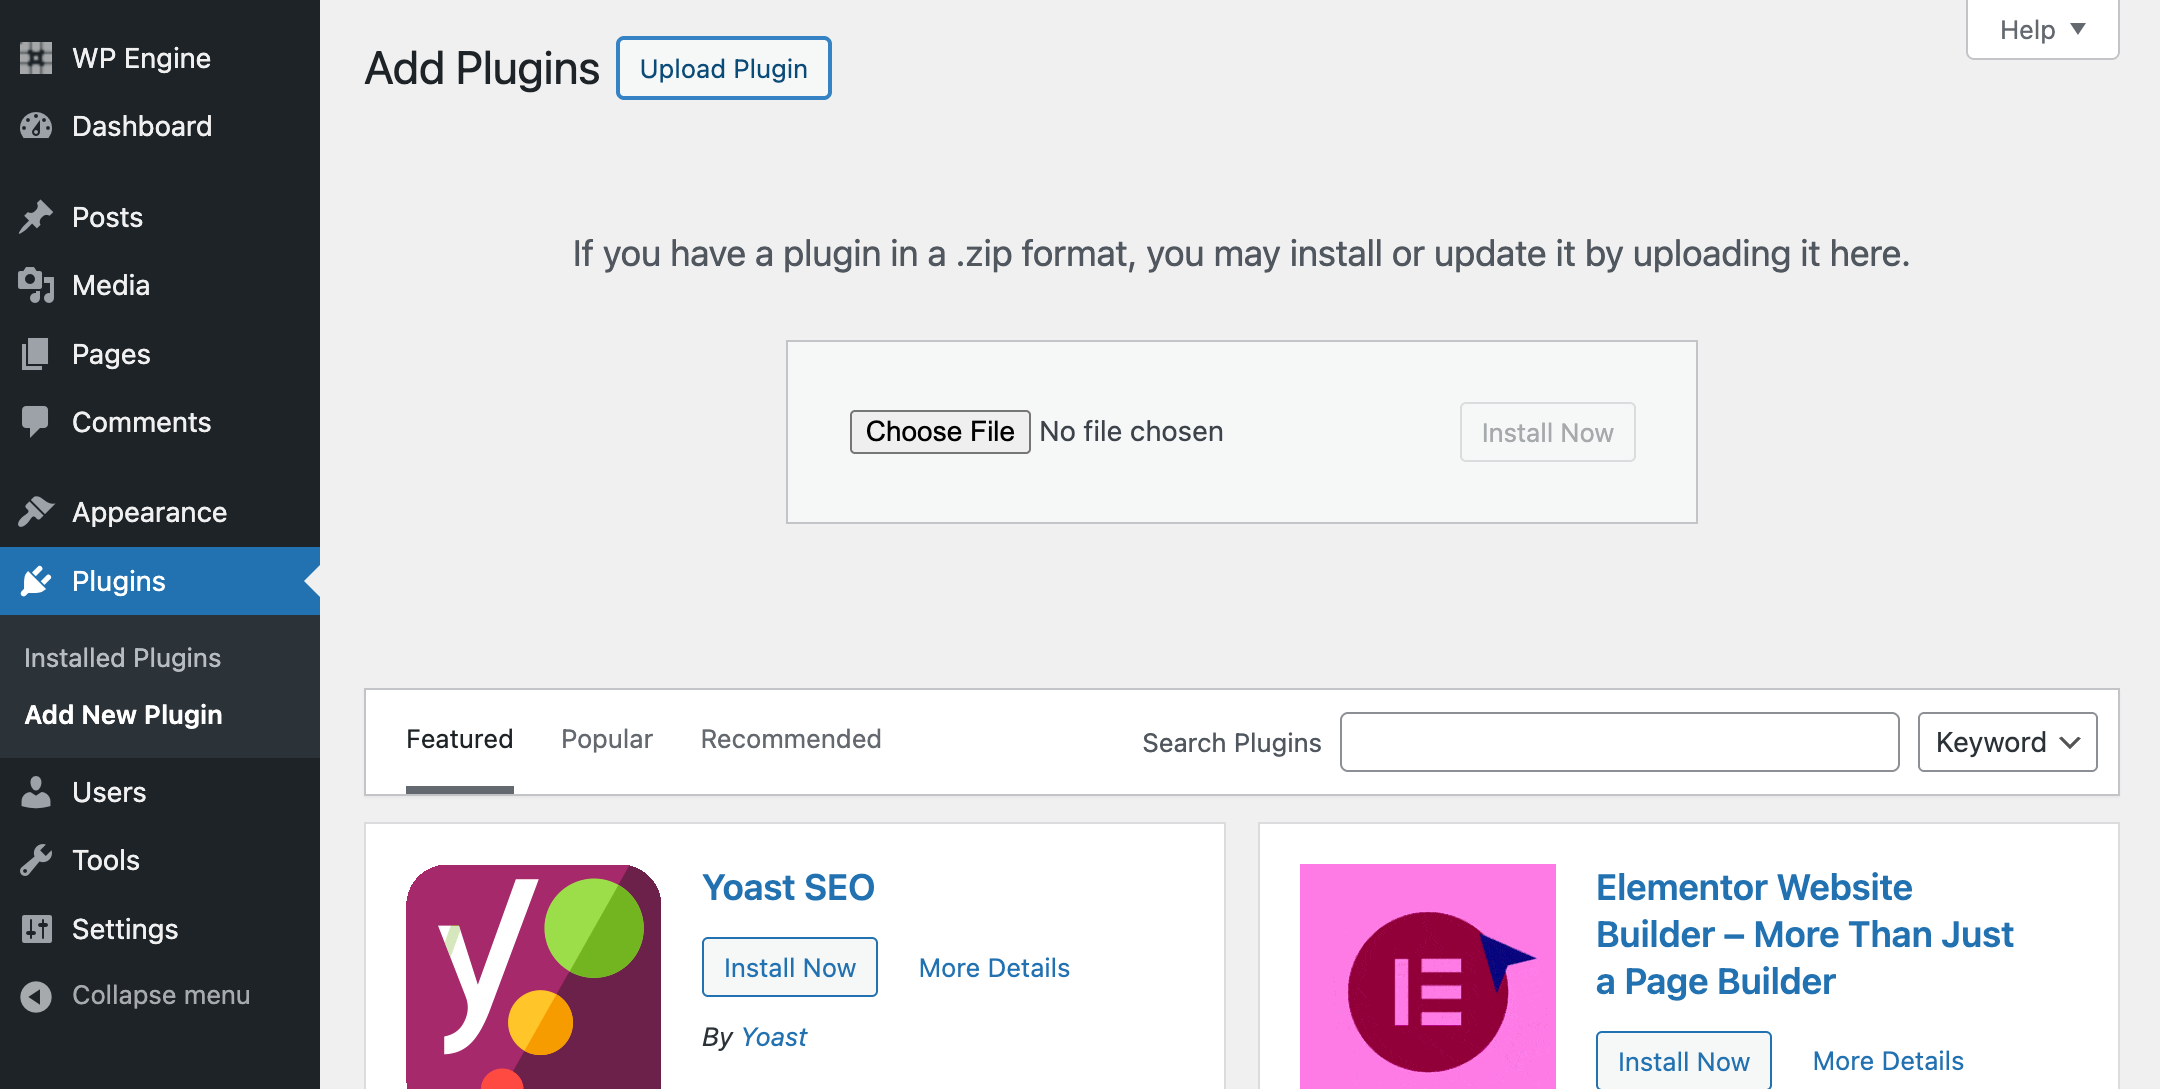
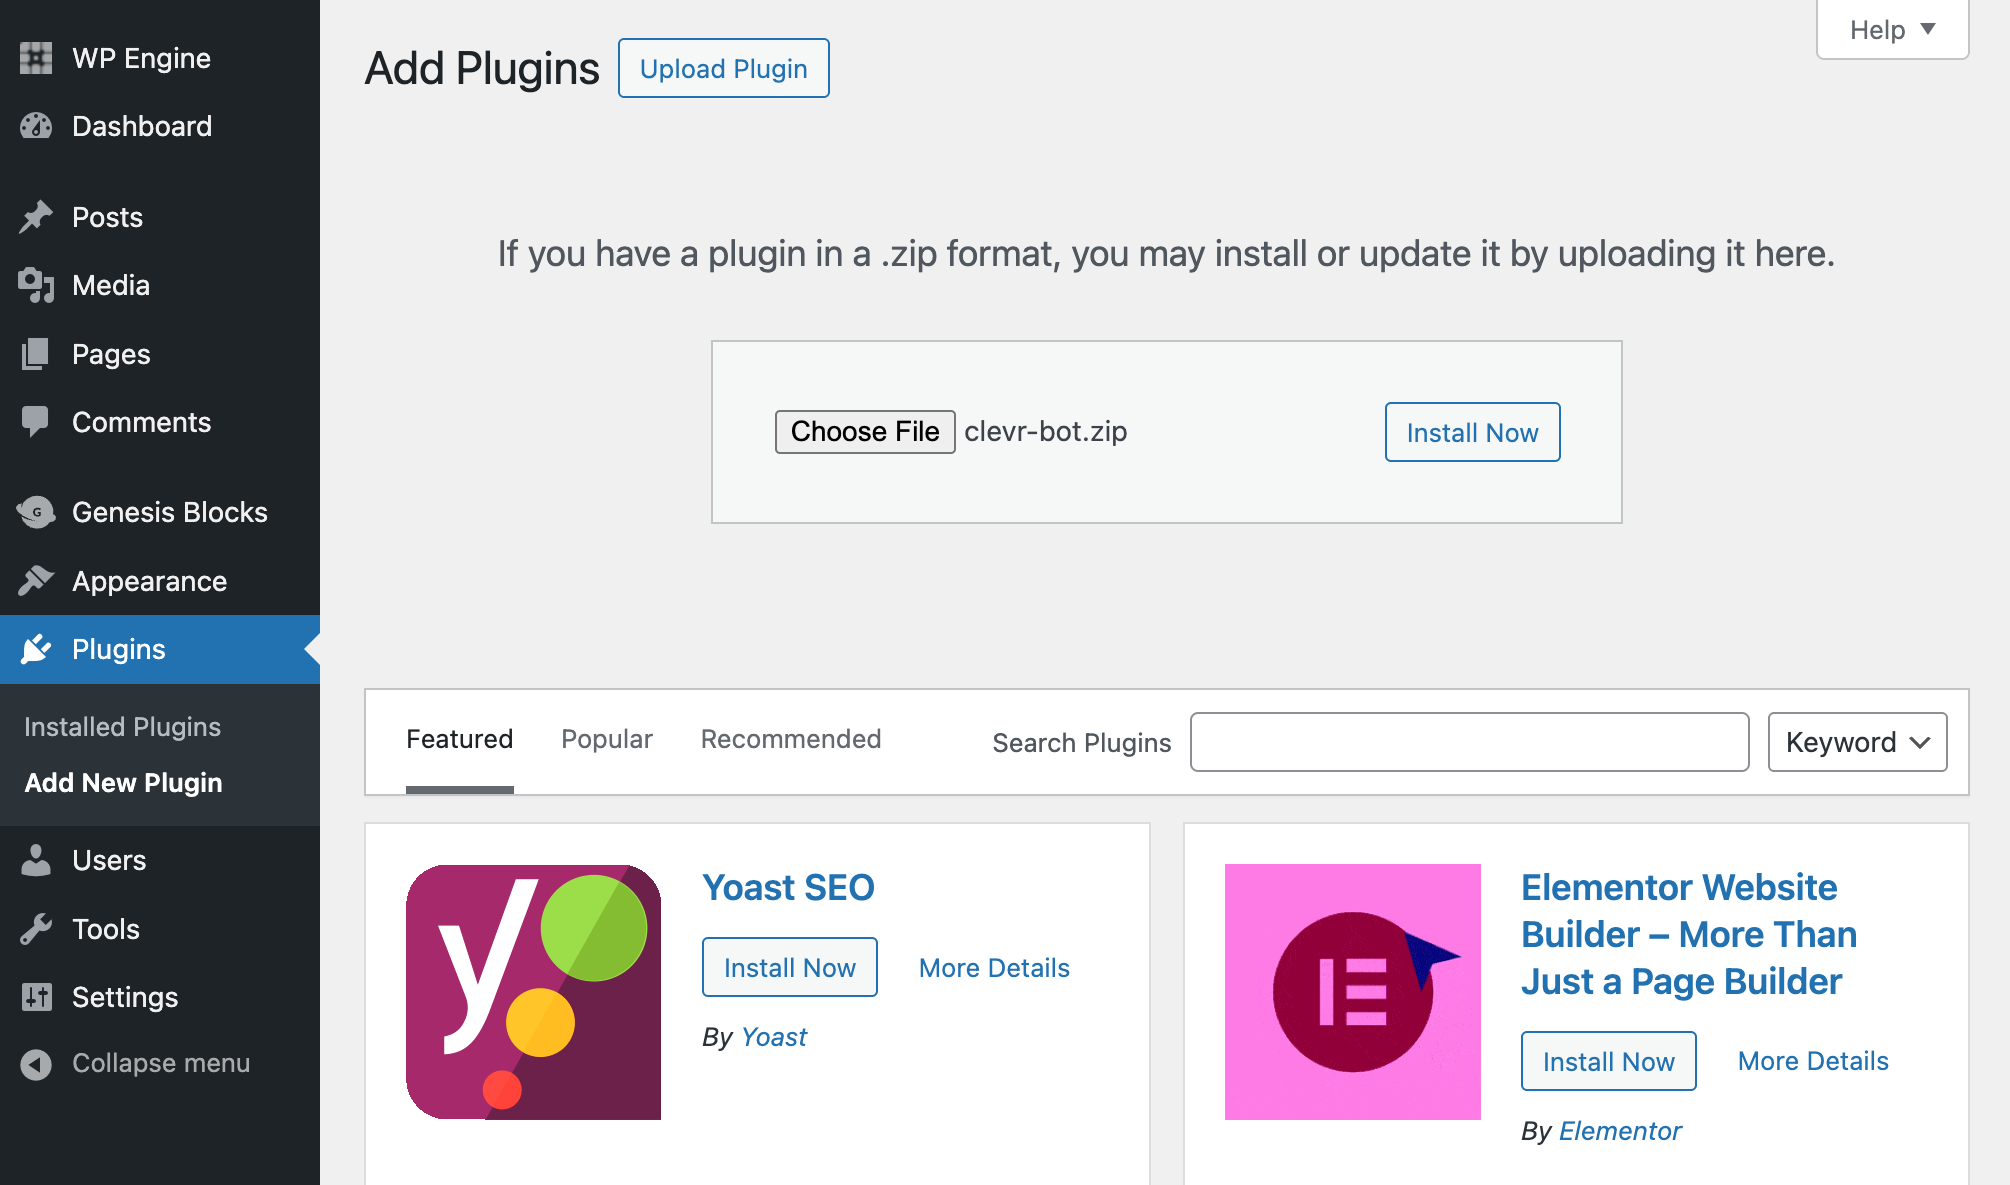
When you have done so, the filename will be shown next to the Choose File button. The Install Now button should now be enabled. Click the Install Now button.
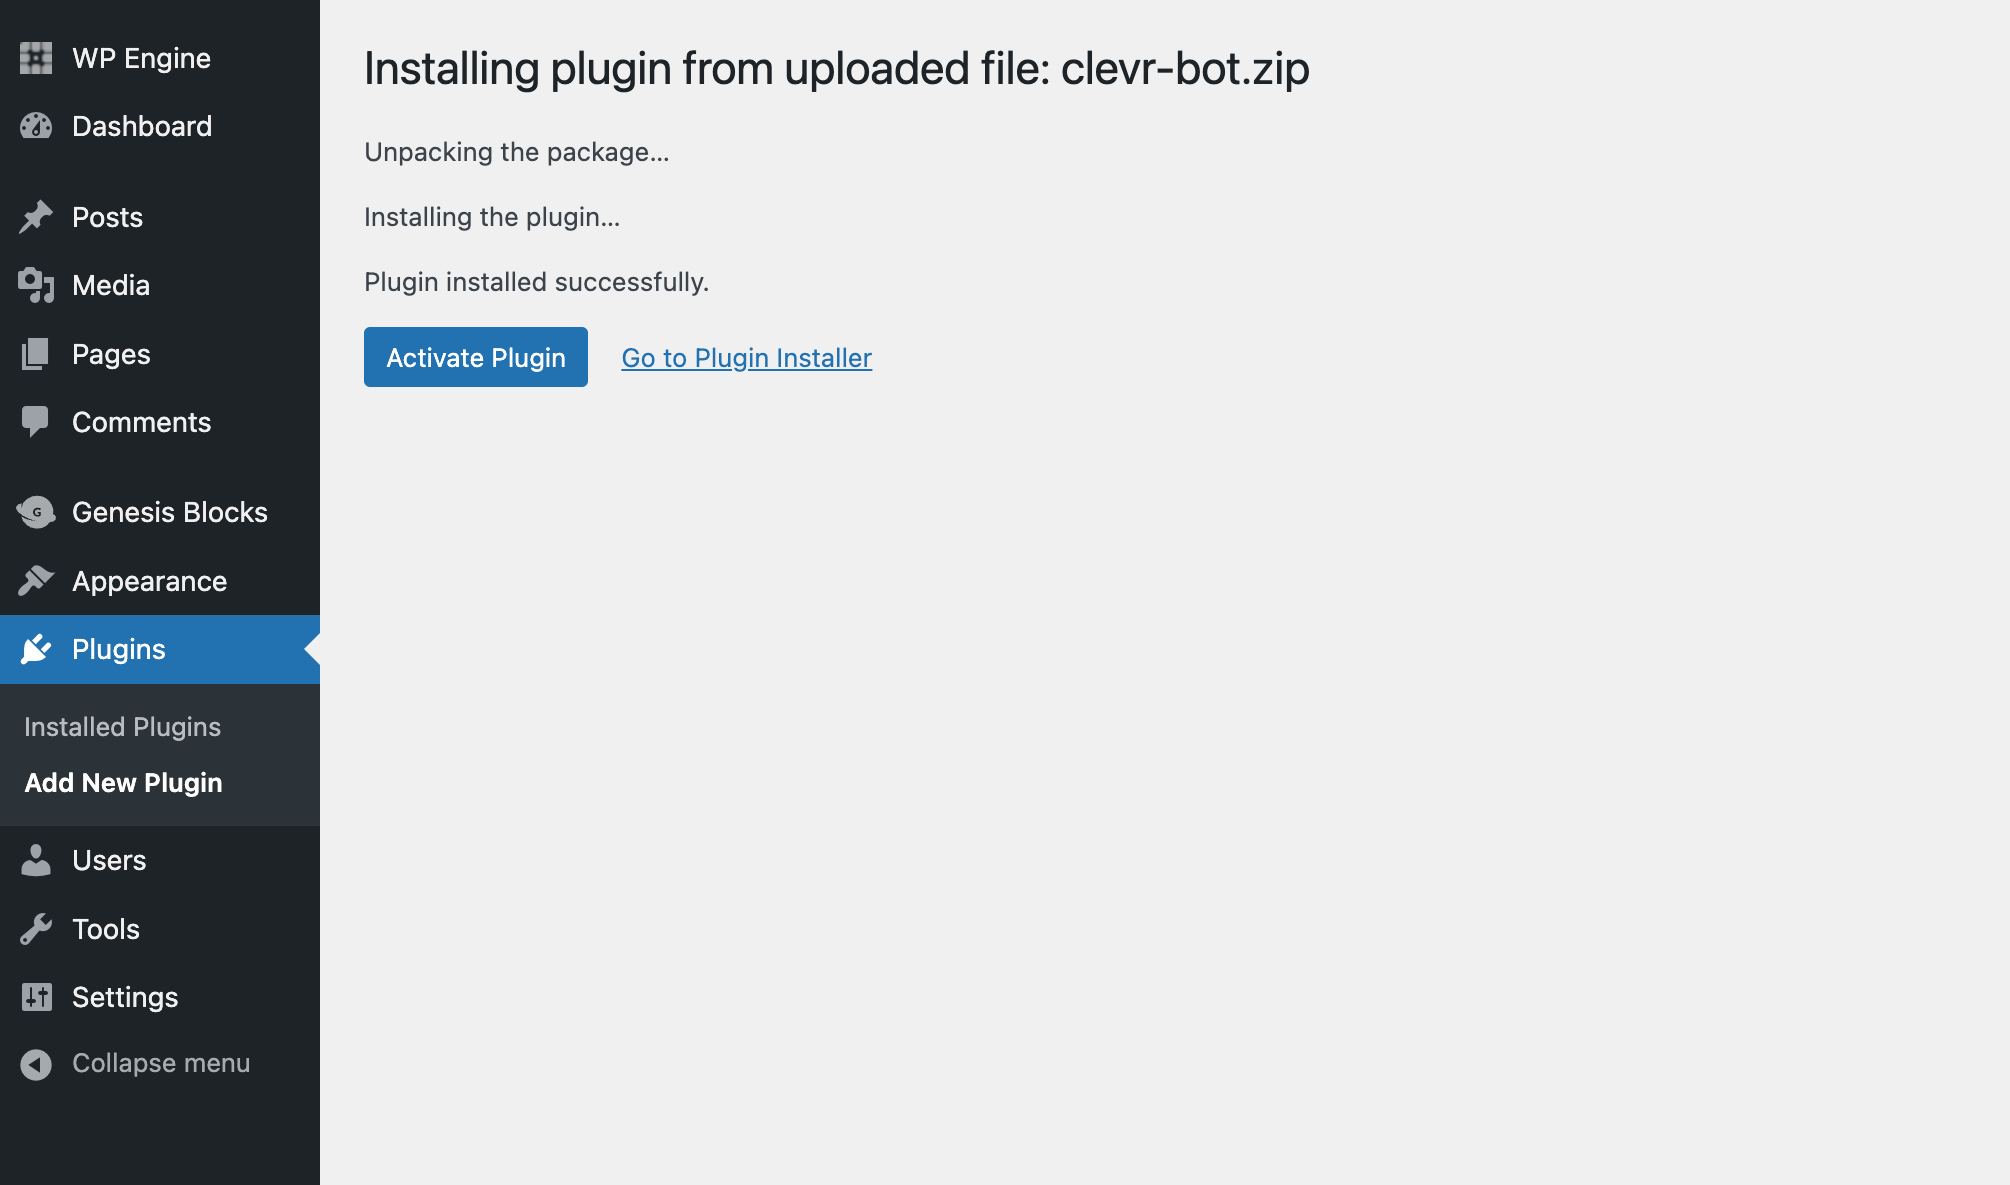
If all goes well, the plugin should be installed successfully. Next, click on the Activate Plugin button to activate the ClevrBot plugin.
Configuration
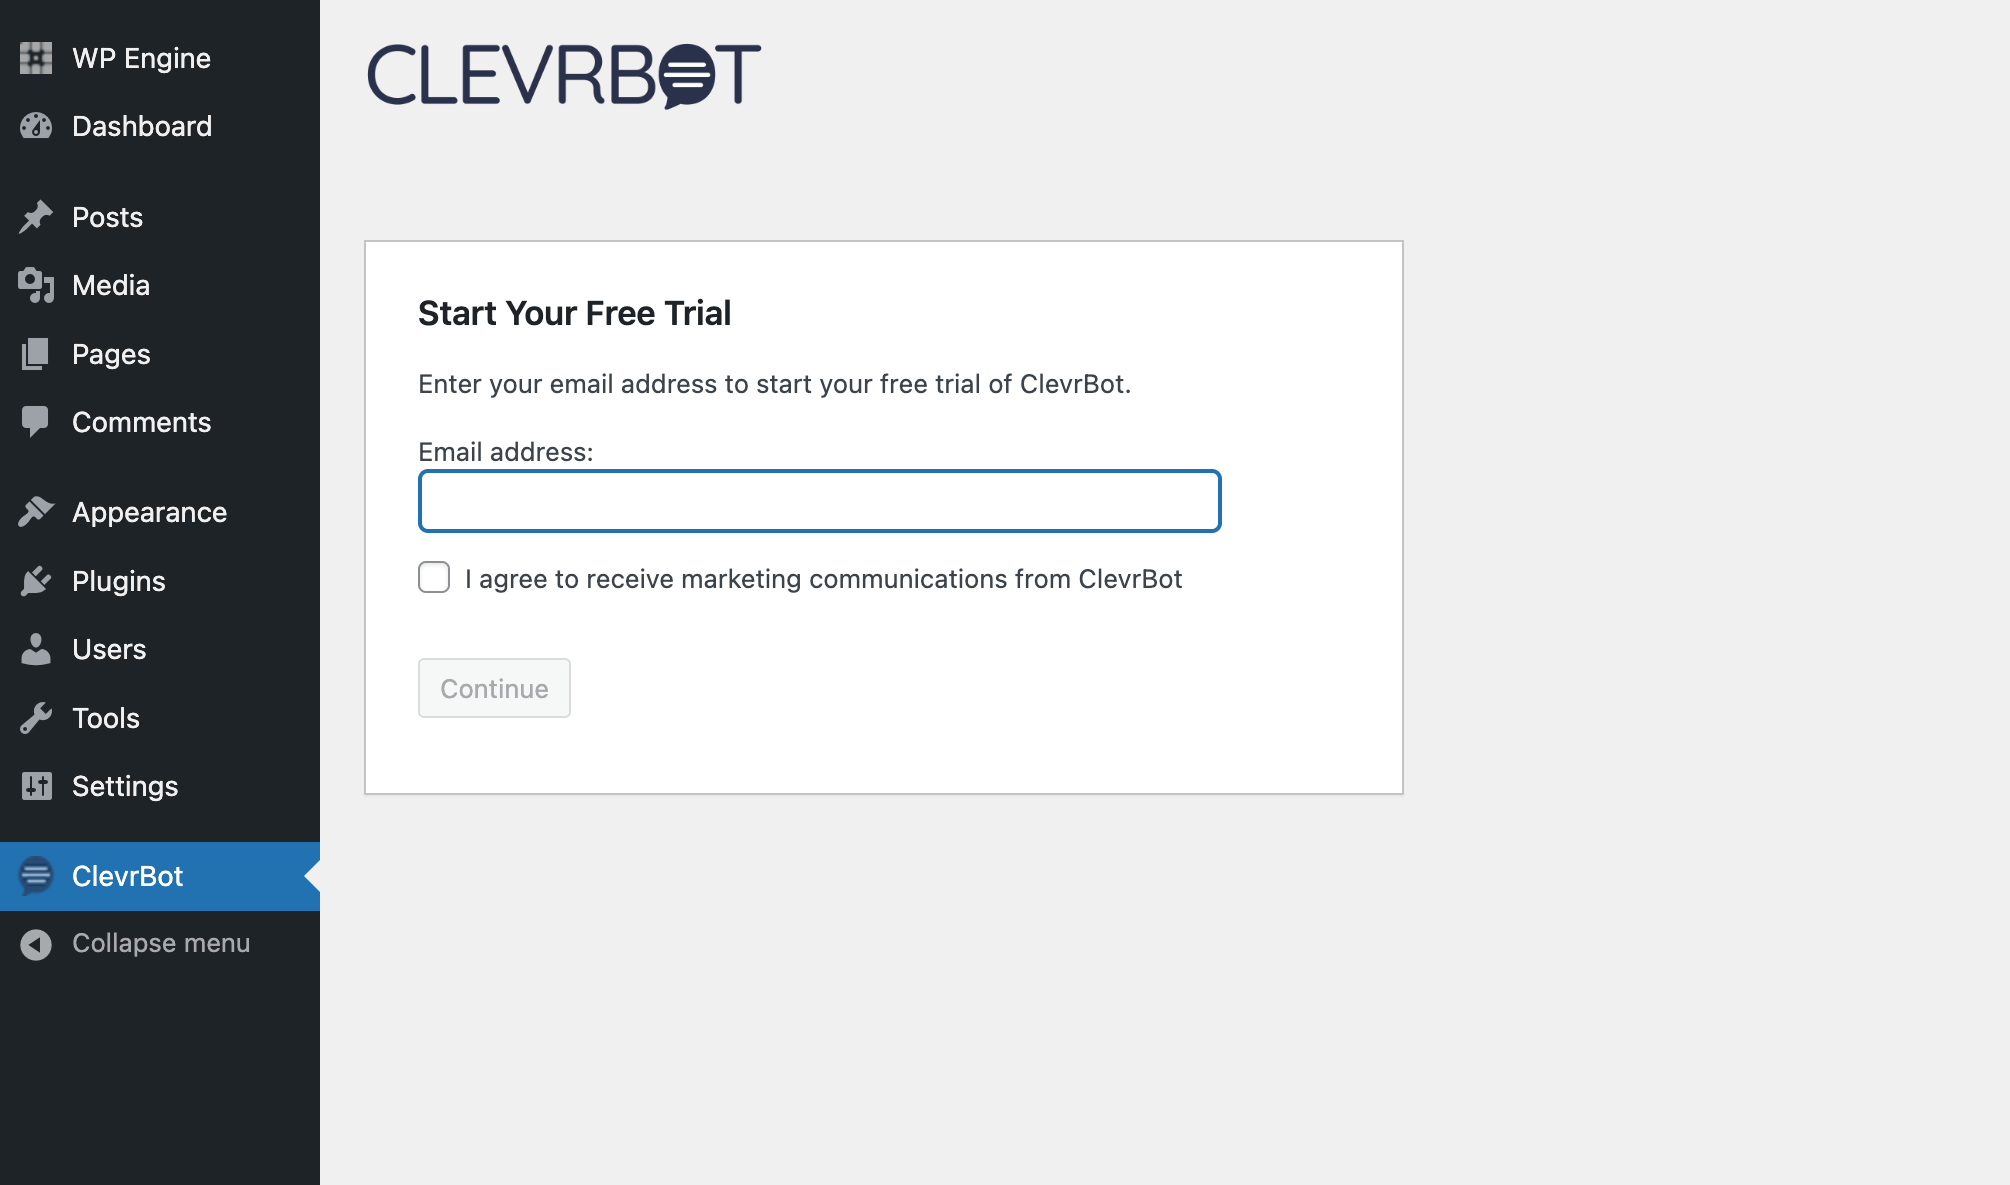
You are now prompted to enter your email address and agree to the ClevrBot Terms of Service and to receive marketing communications. When you’ve done both, the Continue button will be enabled. Click the Continue button.
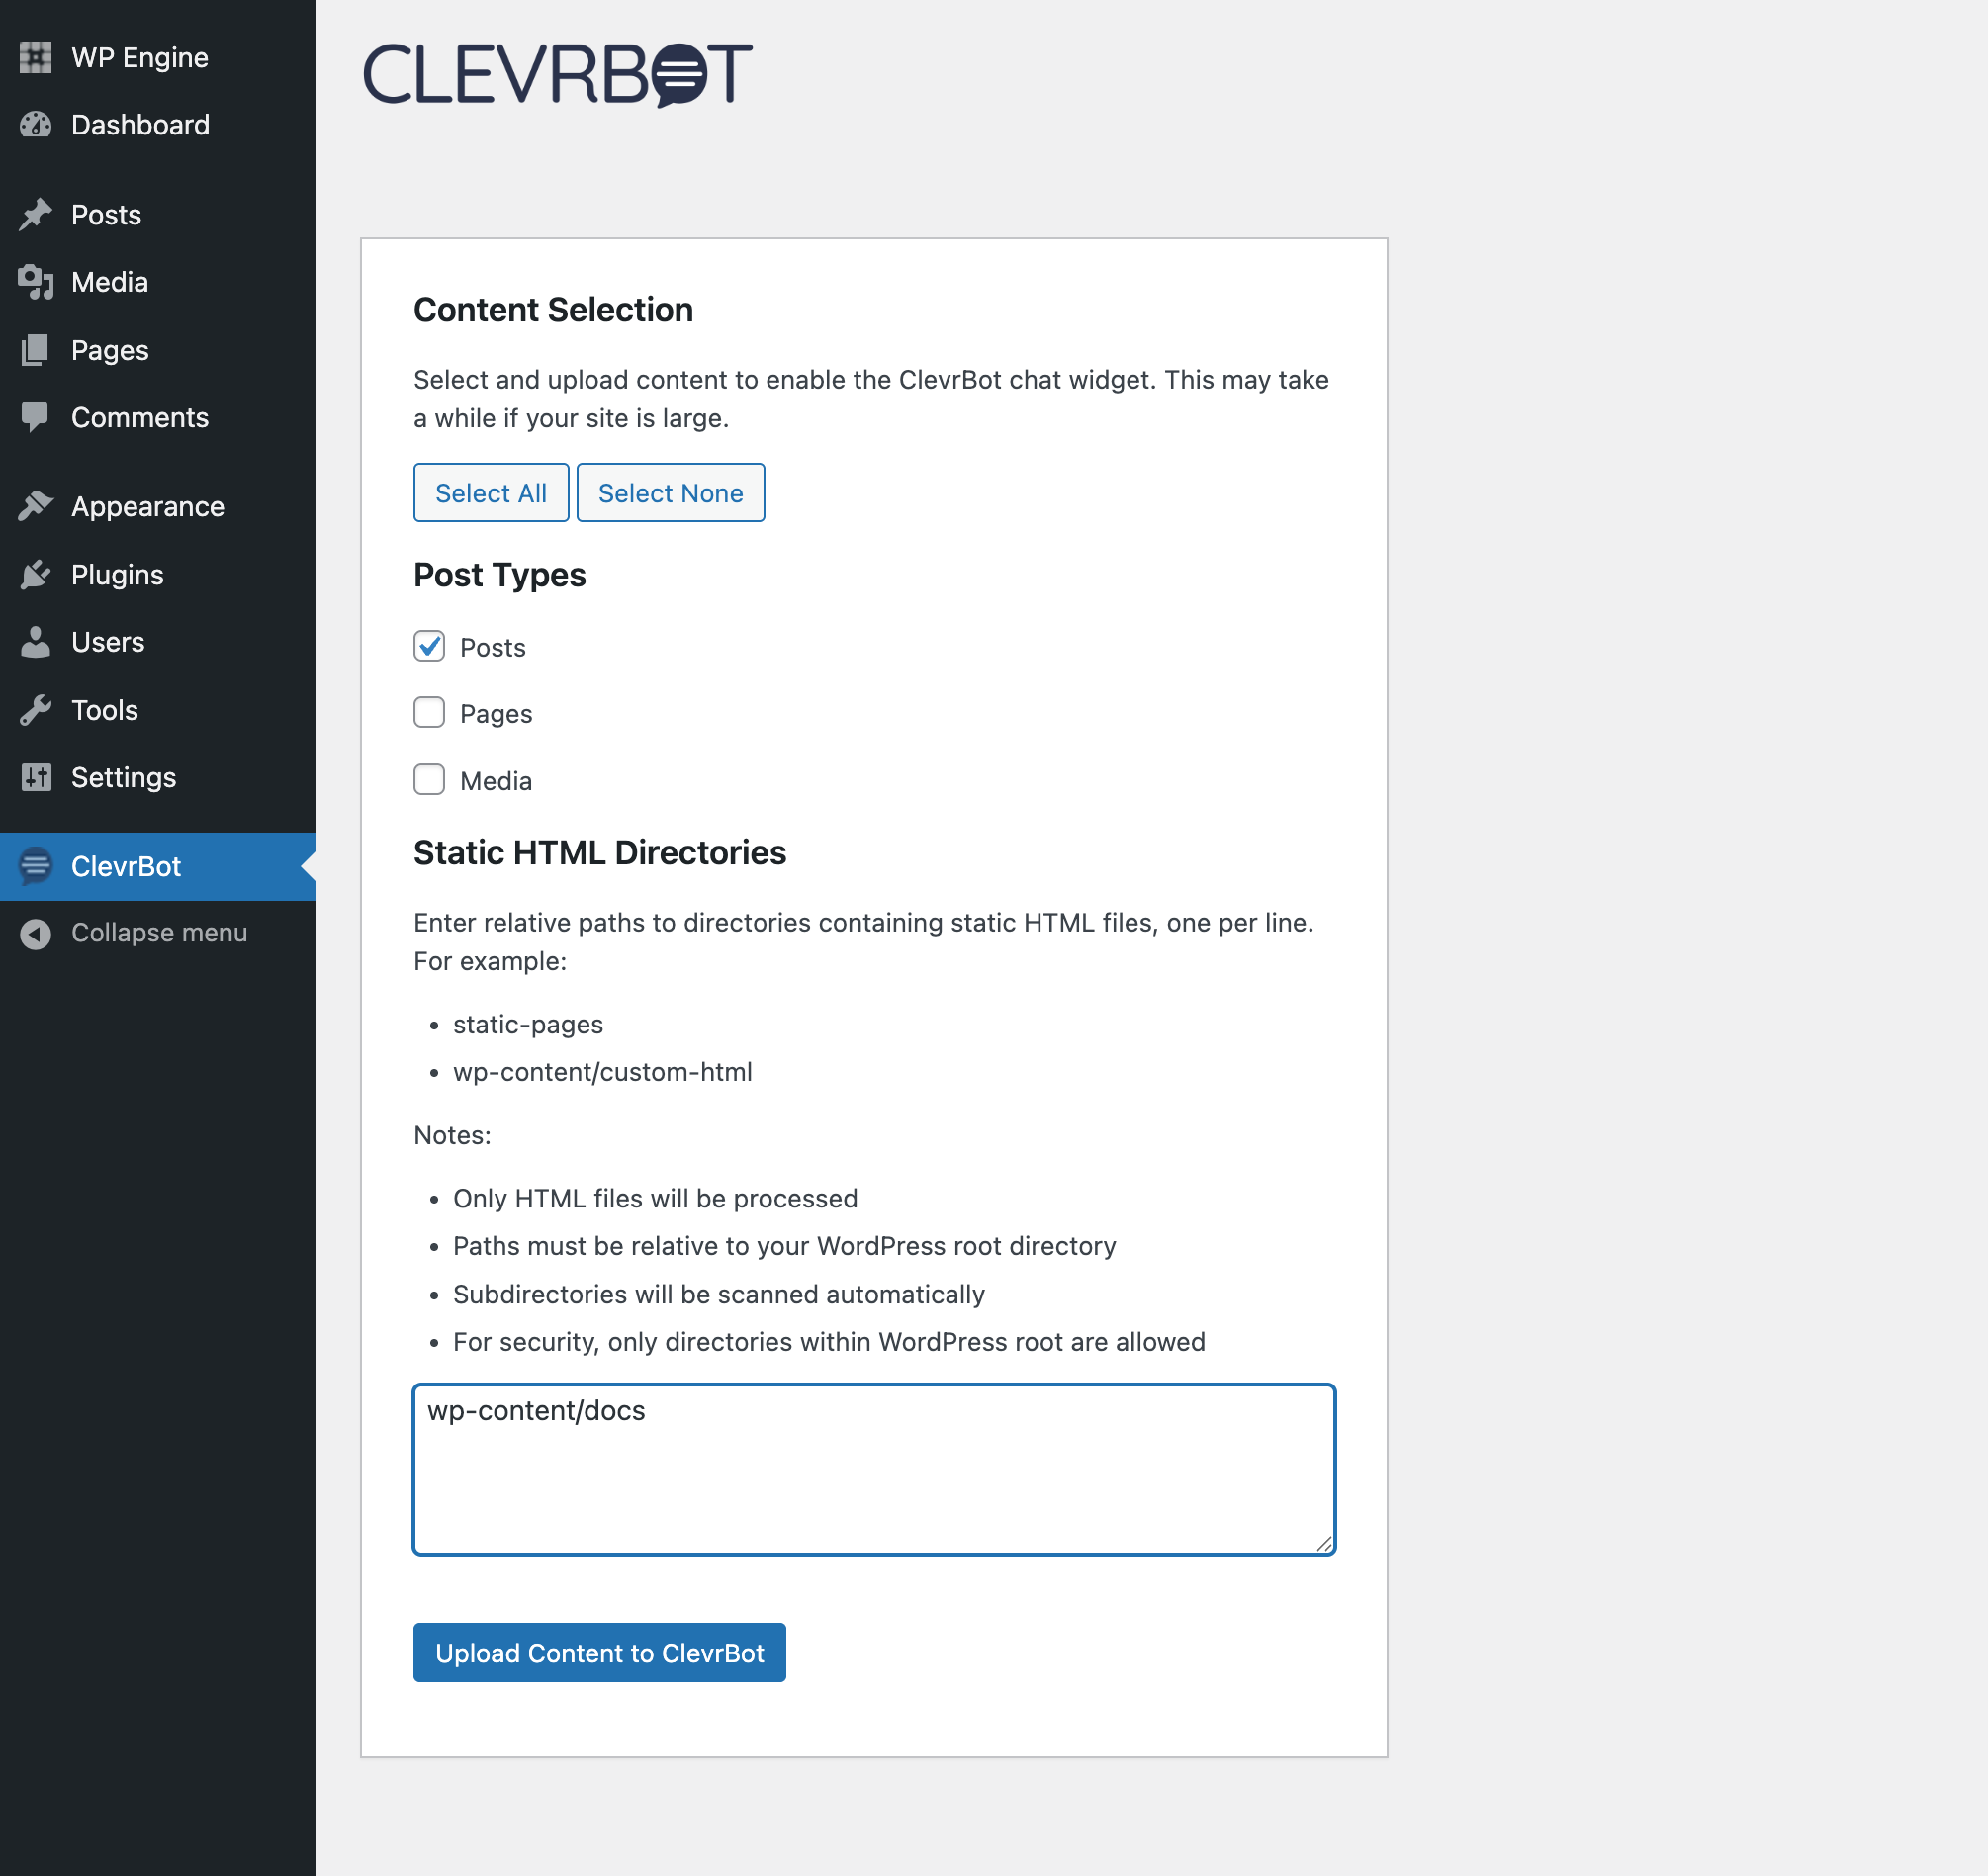
Now, you’ll want to choose what content you want to upload to ClevrBot. Once you’ve chosen at least one post type and/or added at least one directory of static HTML files, the Upload Content to ClevrBot button will be enabled.
Directories are relative to the WordPress install directory — that is, the directory with wp-activate.php, readme.html, and wp-content/ in it.
Enable the Chat Widget
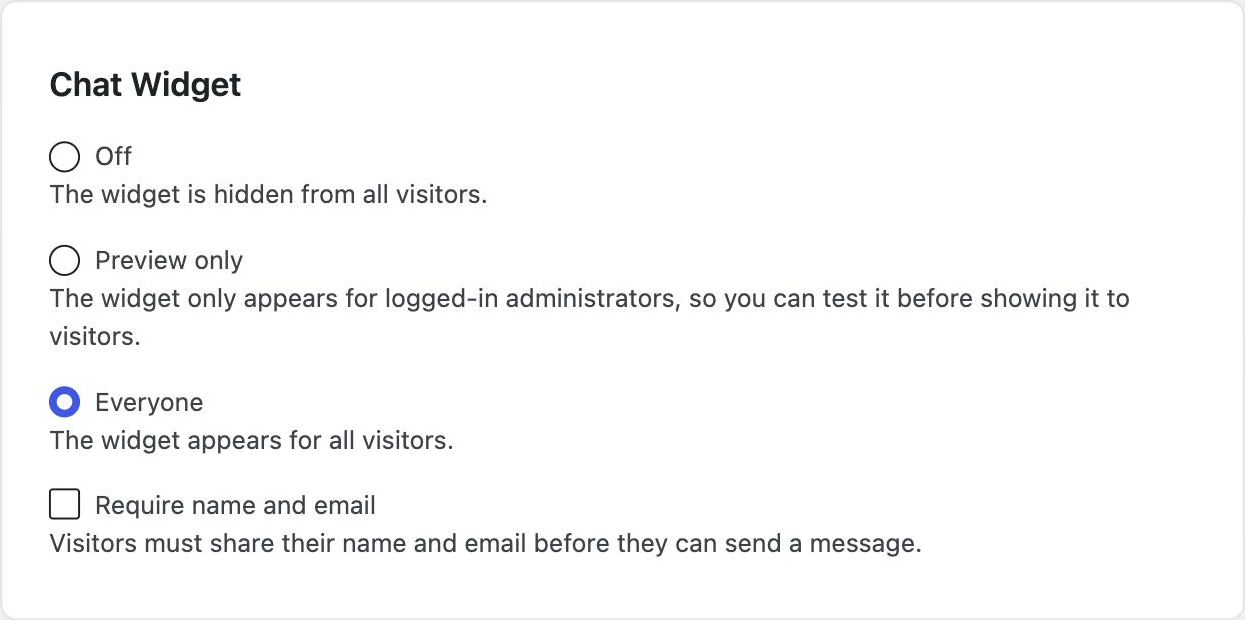
You will now be placed at the ClevrBot settings page. The Chat Widget section controls who sees the chat widget on your site.
Choose Preview only to try ClevrBot yourself first: the widget only appears for logged-in administrators. When you’re happy with its answers, choose Everyone so all visitors can chat. Off hides the widget from everyone.
In the same section you can tick Require name and email so visitors share their details before they can send a message, set a widget color, and pick a logo from your media library. Then, click the Save Widget Settings button.
If your site uses page caching, clear the cache after saving so every visitor gets the change.
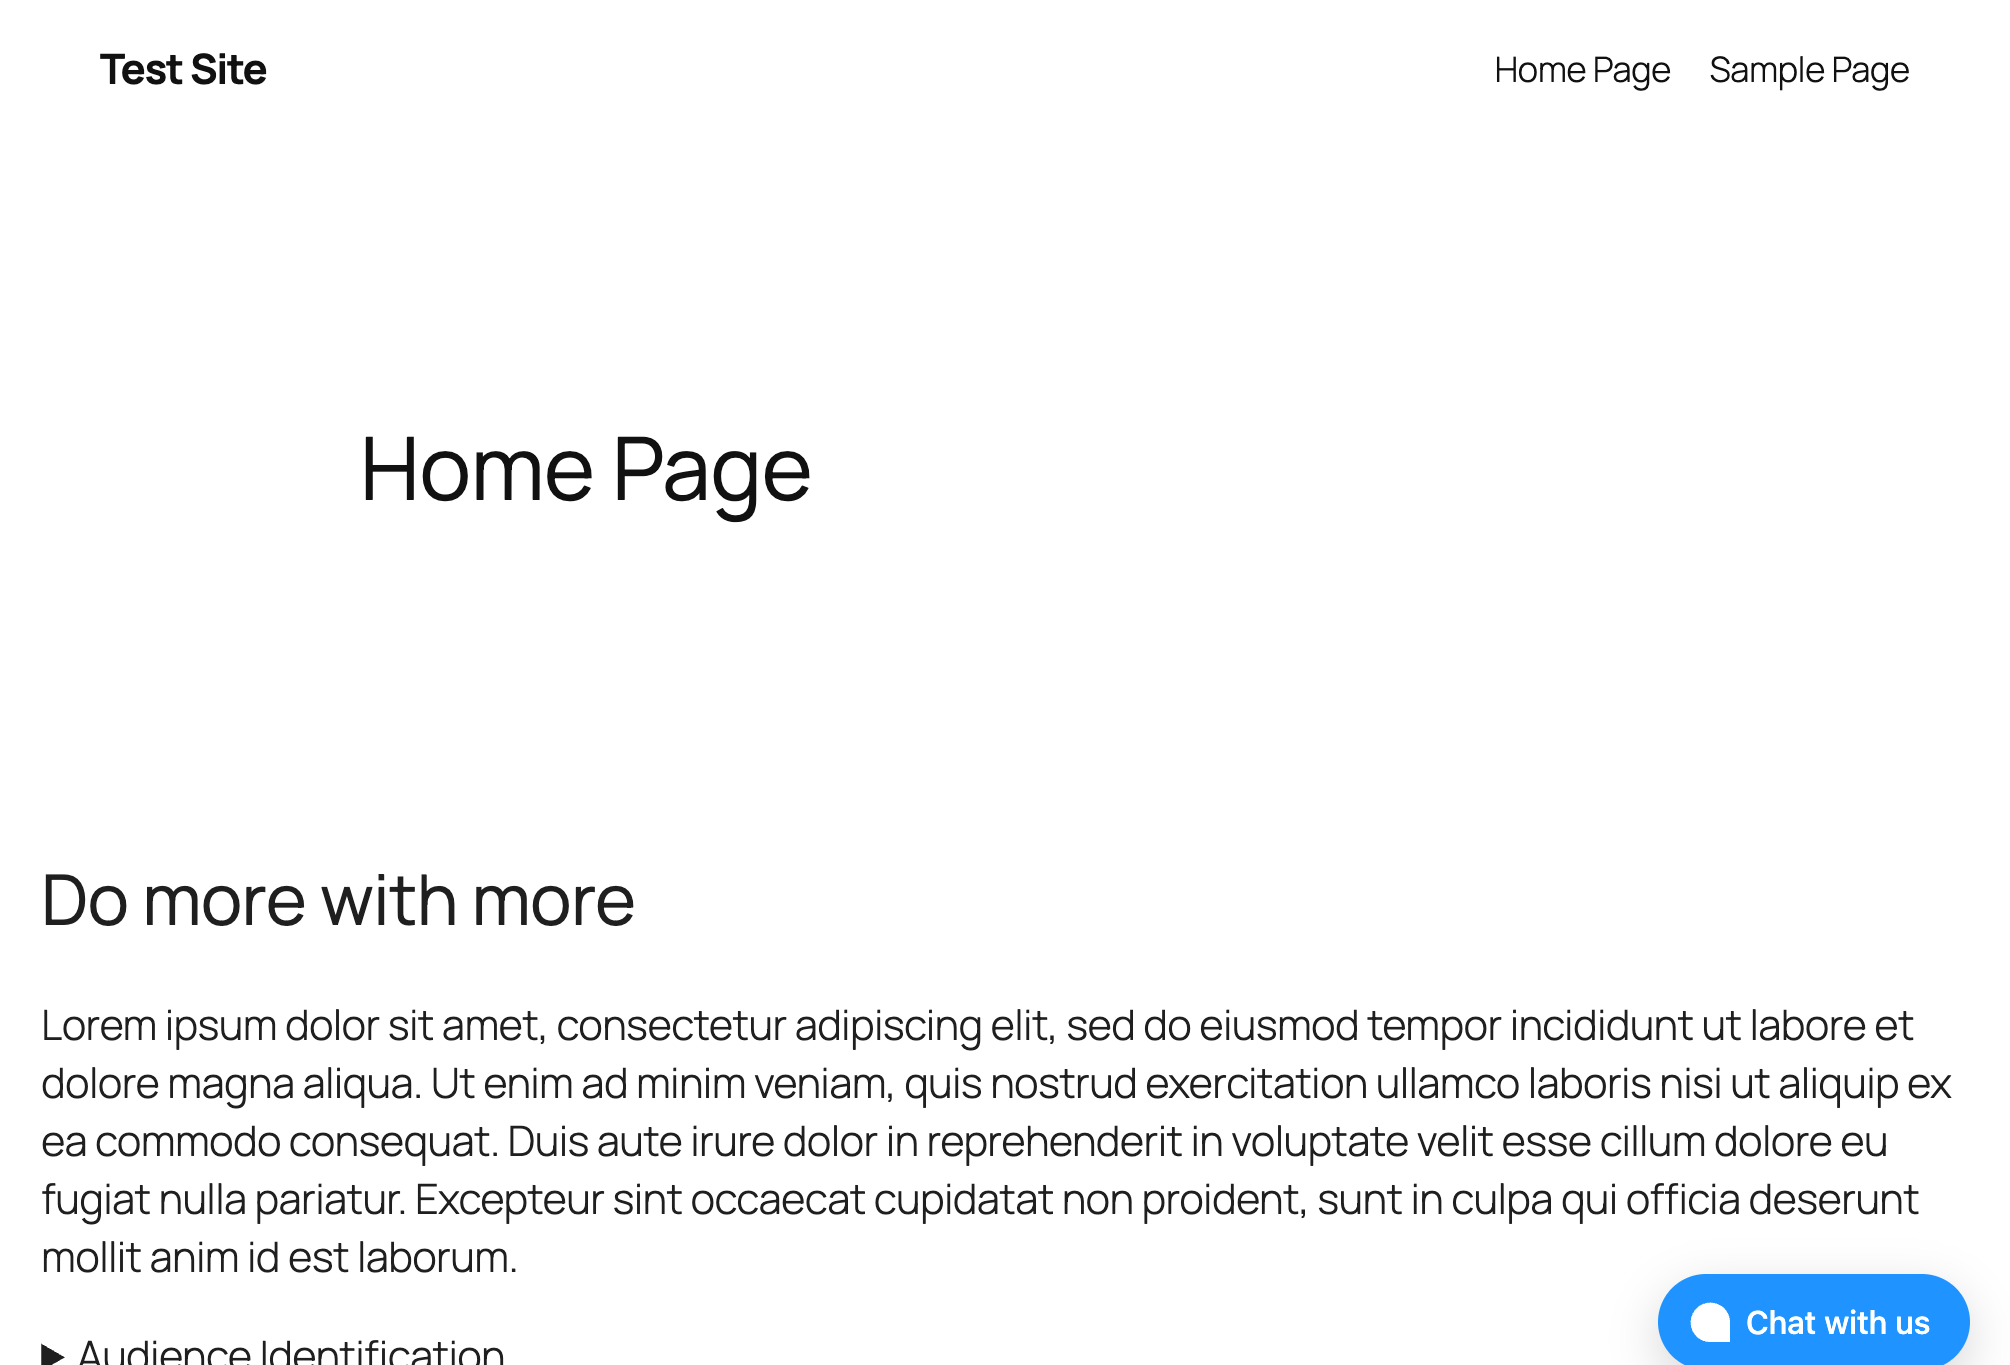
Now, visit your website. You should have a button on the bottom right that says Chat with us. If you chose Preview only, stay logged in as an administrator to see it.
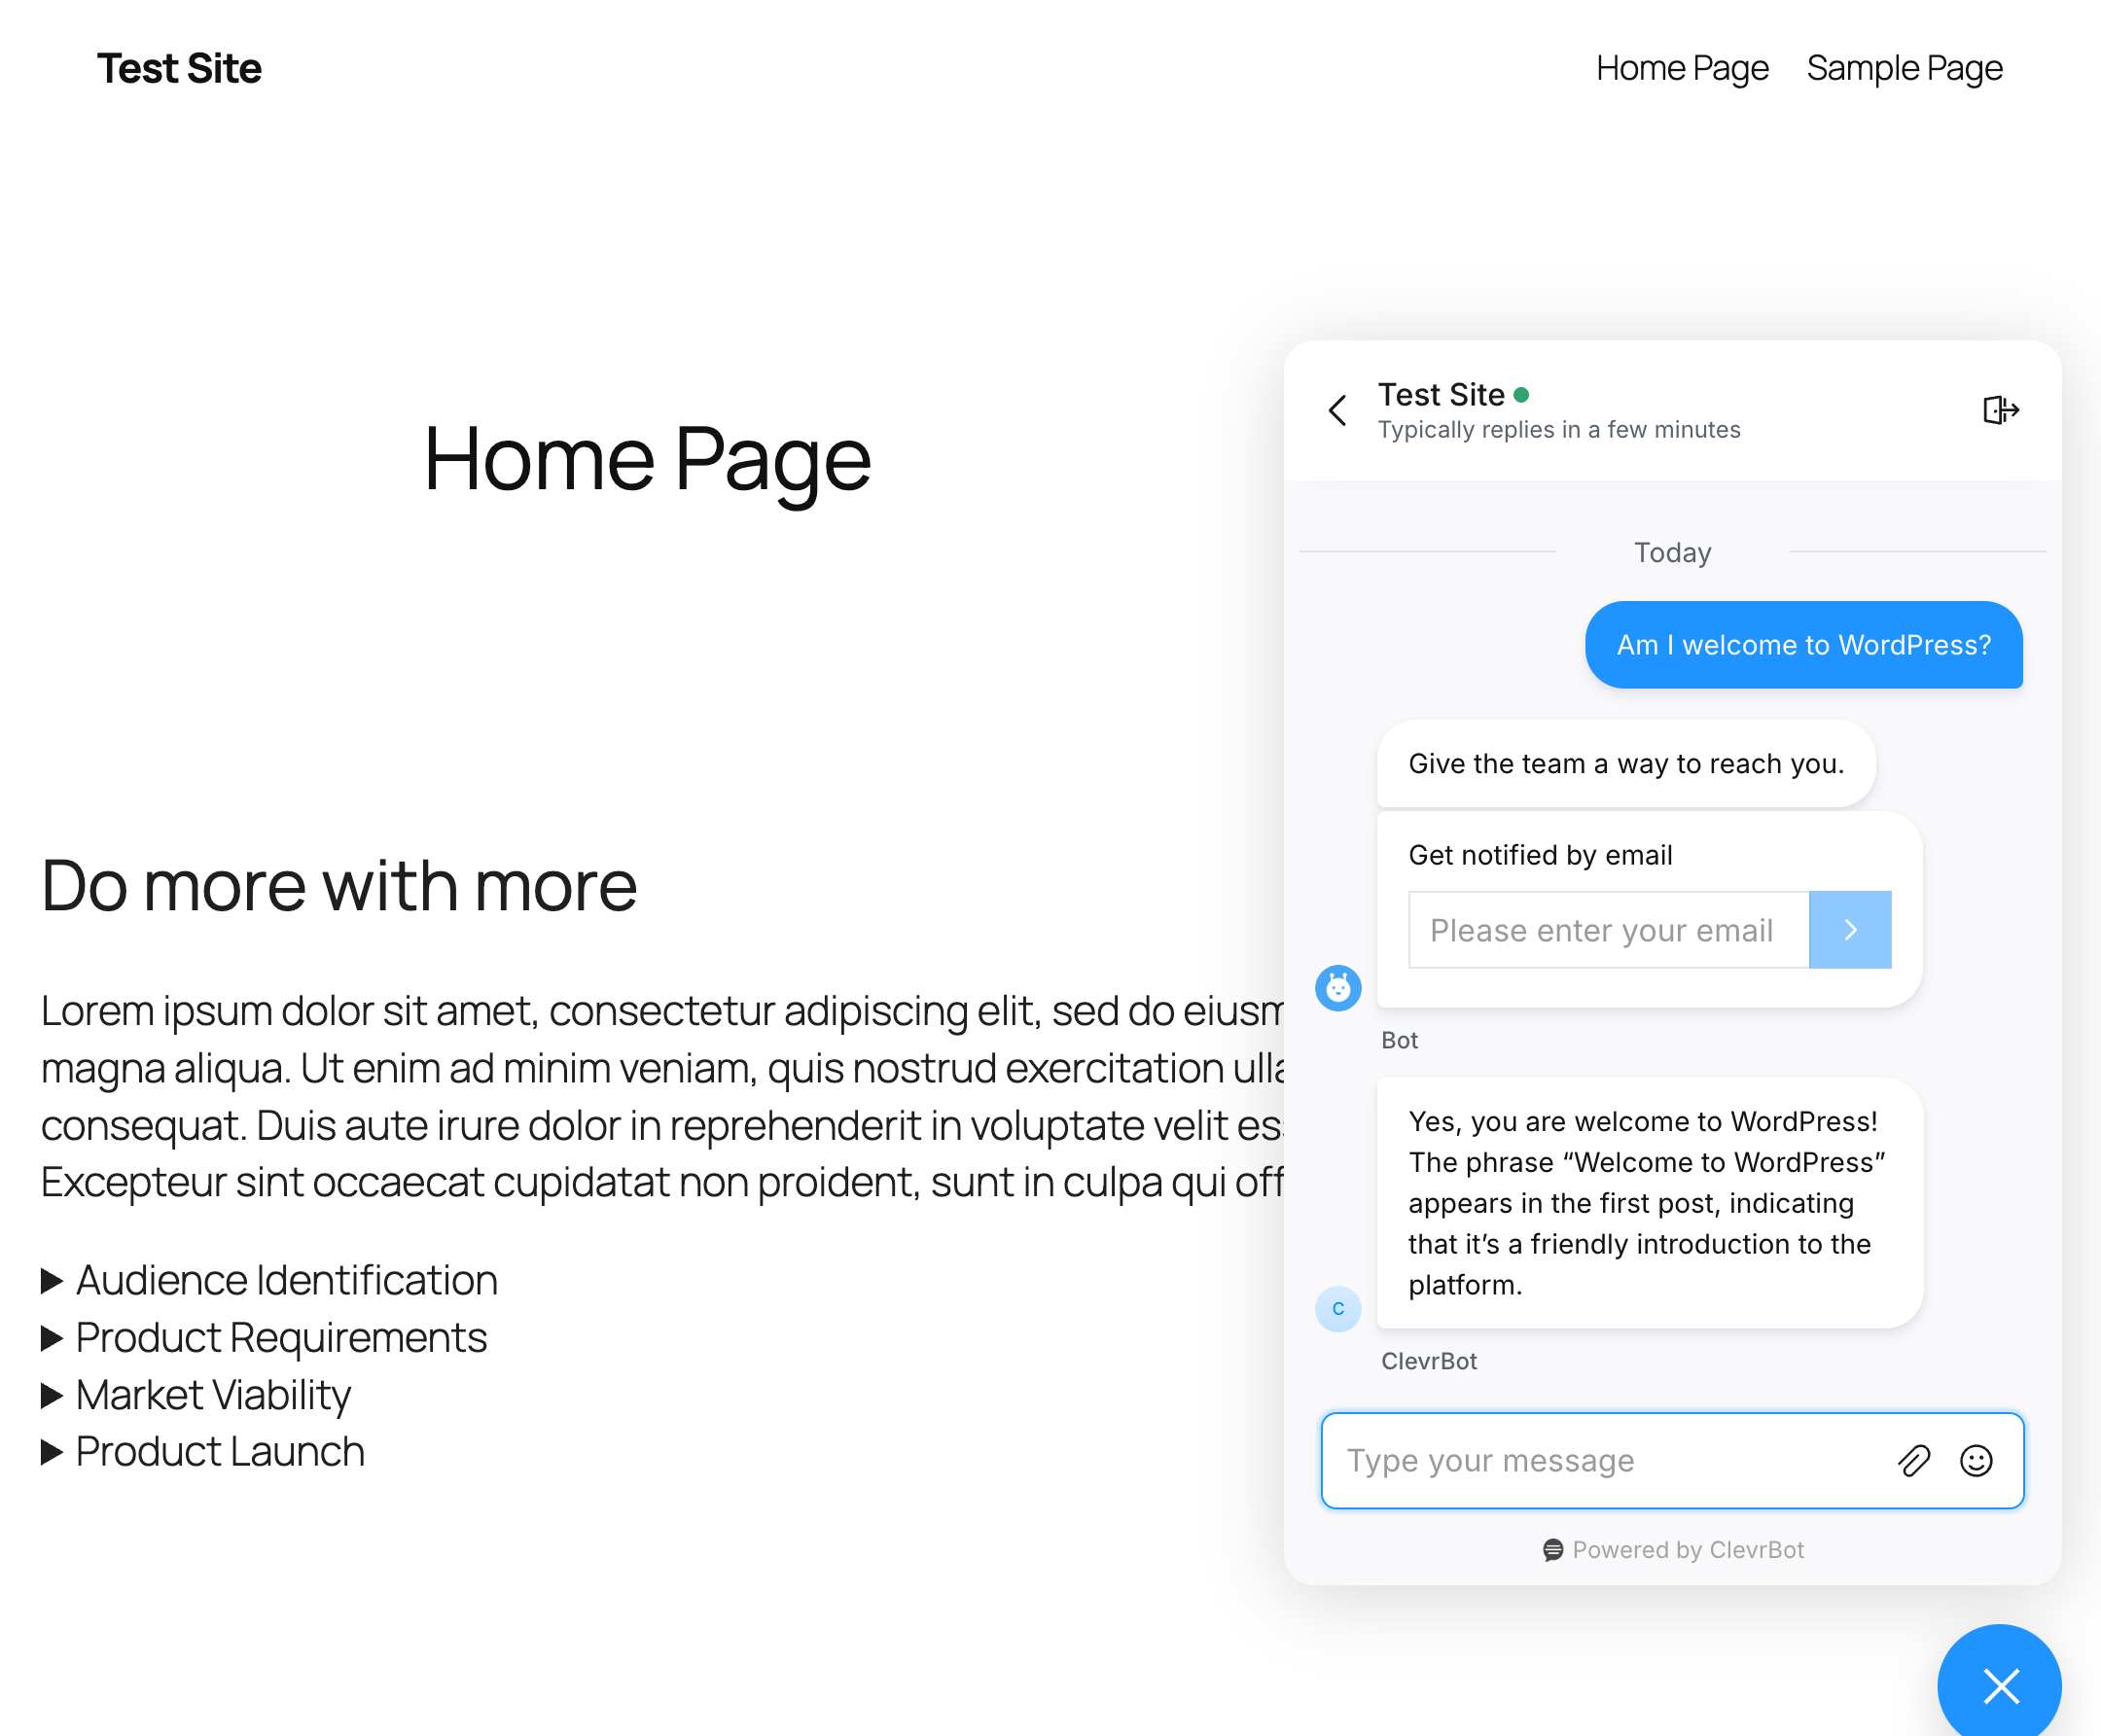
Finally, if everything’s gone well, you should be able to click on the button and ask questions of ClevrBot.
You’re done setting up ClevrBot. Congratulations!
Tips
- If you have ClevrBot get its information from the pages on your website, you may want to ensure that all the published pages are actually pages you want ClevrBot to learn from. If you have pages that are published but not linked to, ClevrBot will learn from them even though the information in them may not be what you’re ready to expose to site visitors.